This article was originally written in Chinese and translated into English by AI.
I recently moved my blog to a larger server and spent an entire day working through the migration. This guide records the complete setup process so others can avoid the same detours.
Note: this article contains no jokes. It is a purely technical guide.
This is the 195th article published by the Technical Miscellany Shop WeChat official account.
Estimated reading time: about 10 minutes.
Completing the full process step by step takes about 10–30 minutes.
Technical documentation: ★★★★★
Video Version
Preface
WordPress is a website management system built with PHP and MySQL. It can power a personal blog or a small company’s website. Because WordPress requires a database and a backend, an internet-accessible WordPress website must run on your own server, and you are responsible for the server cost.
If you simply want somewhere to write a blog, you can try a free blogging platform or a WeChat official account. You can also use free and open-source projects such as Hugo or Hexo. They compile your articles into a static website that can be hosted for free on a service such as GitHub Pages. These projects can be deployed without paying for a server.
I once made a video about building a personal blog with Hexo, although it was produced seven years ago and some of its information may no longer match today’s environment.
bilibili.com/video/BV1rx411V7WP
Despite the many serverless options such as Hexo, I am still fond of WordPress. I have used it for a long time and feel attached to it. It also has a strong ecosystem with a huge selection of themes and plugins. You can satisfy many different needs by clicking through the web interface without writing code.
This article provides two approaches: a simple method that anyone can complete and a DIY method that requires basic computer knowledge.
I hope every reader can deploy a website successfully.
Note: the following guide lets you deploy a WordPress website and visit it through its IP address.
If you want to access it through a domain name, such as mwhitelab.com, and host it in mainland China, you must complete an ICP filing for the domain. Processing time varies by region but is generally around two weeks.
Method 1 (Simple): Use a Preinstalled Image
This method requires no programming knowledge. You can purchase an entry-level server from any cloud provider to run WordPress.
Common cloud providers in China include Tencent Cloud, Alibaba Cloud, and Huawei Cloud. These providers frequently run promotions, and new users or students can often buy a lightweight server with two CPU cores and 2 GB of memory for an entire year for only a few dozen yuan.
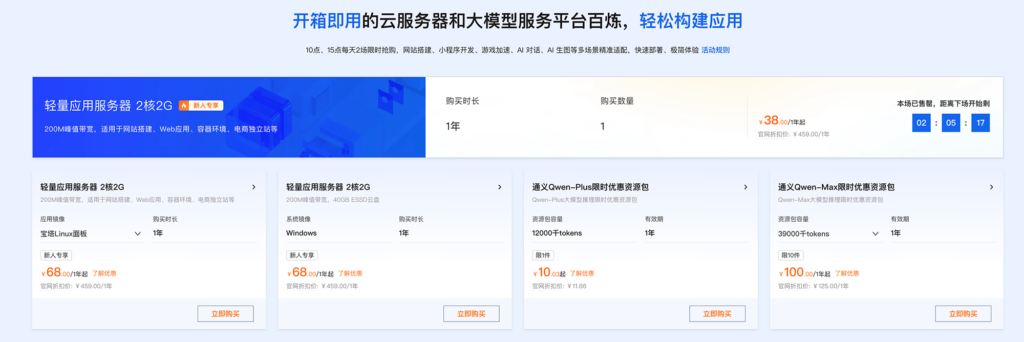
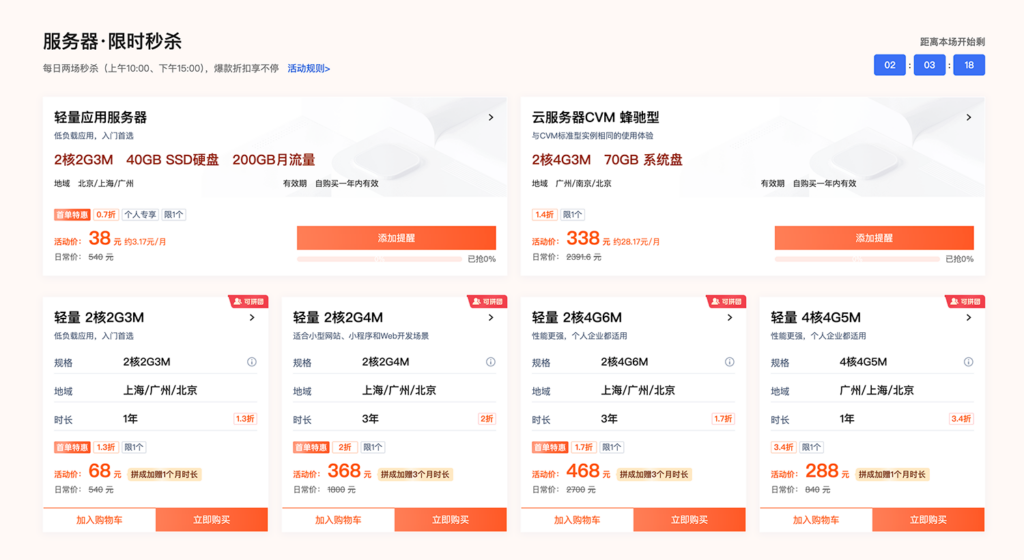
WordPress does not require much server performance, so the cheapest promotional lightweight server is usually sufficient.
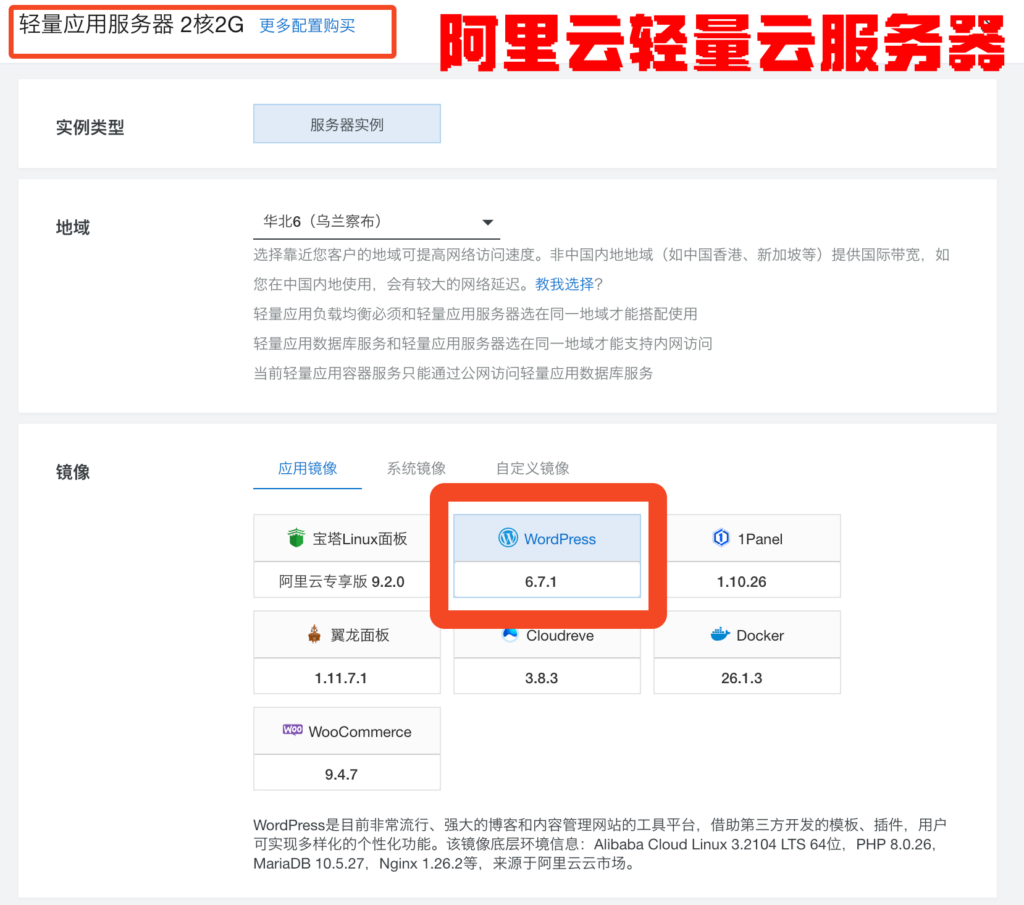
Chinese cloud platforms generally offer a preinstalled WordPress image. Choose an inexpensive server, select WordPress from the application images, and complete the purchase. Note that a discounted server usually costs a few dozen yuan per year, not a few dozen yuan per month.
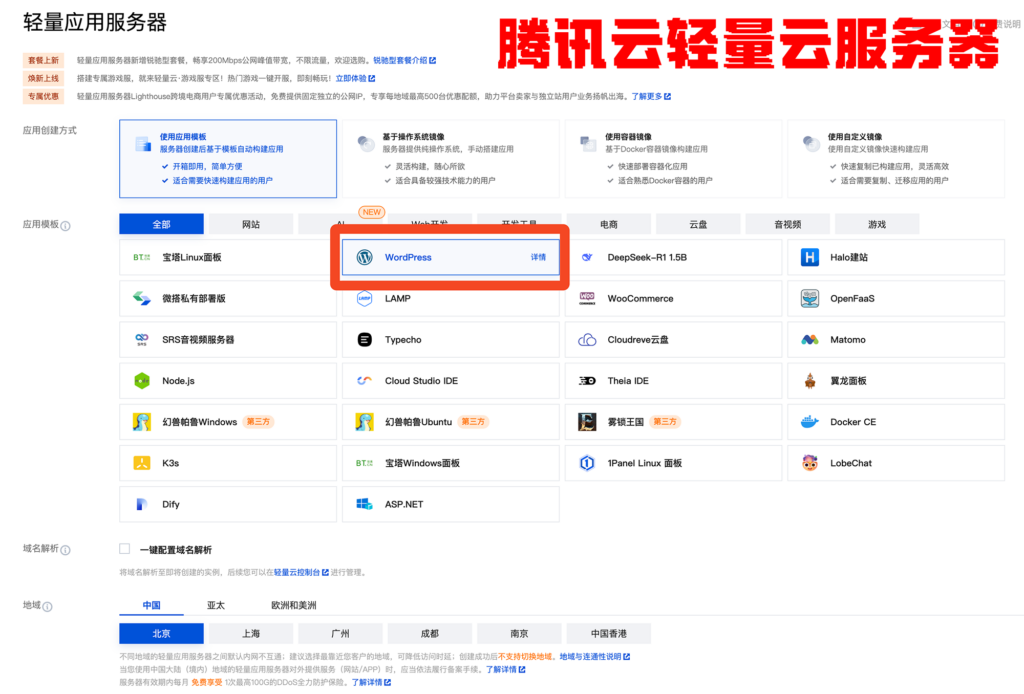
After the purchase succeeds, the server will appear in your cloud console. The screenshots below use Tencent Cloud as an example.
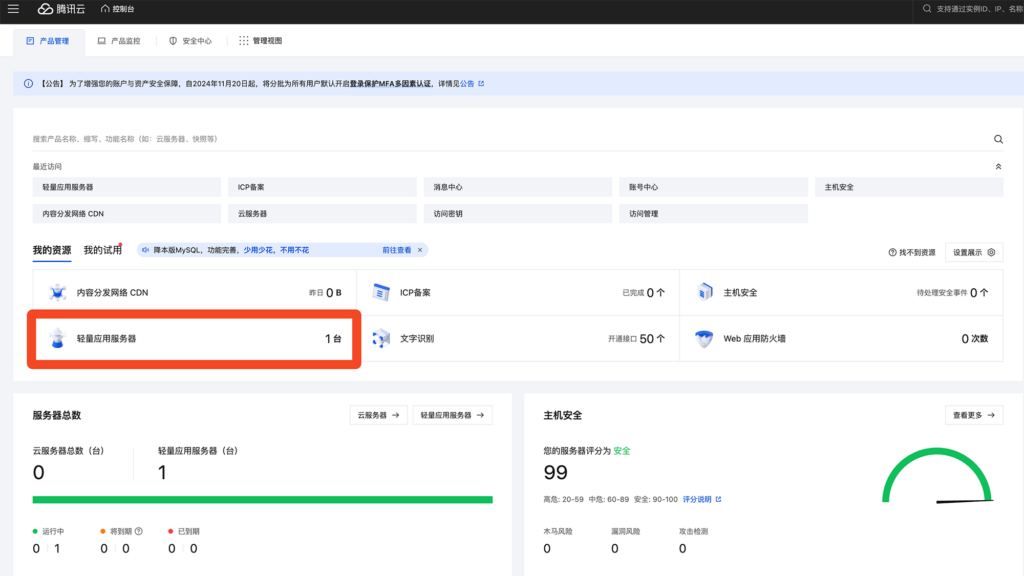
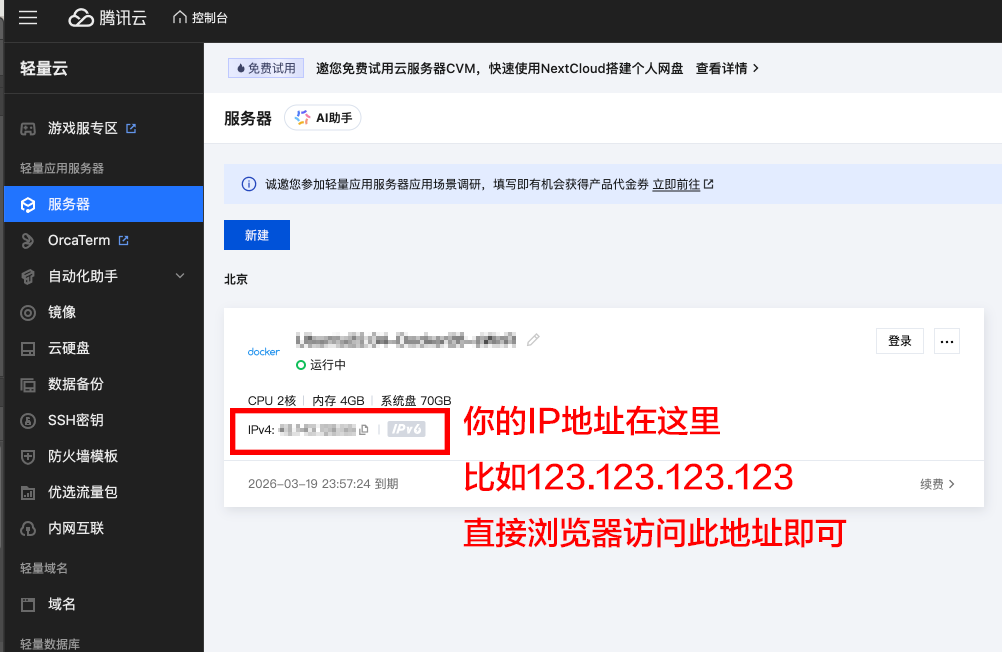
Cloud providers use slightly different console layouts, but the basic workflow is similar. You can find the address and other essential information for your new WordPress server in the console.
Enter the website address in your browser to open your WordPress site.

You need the WordPress administrator username and password to enter the dashboard, write articles, and change the layout.
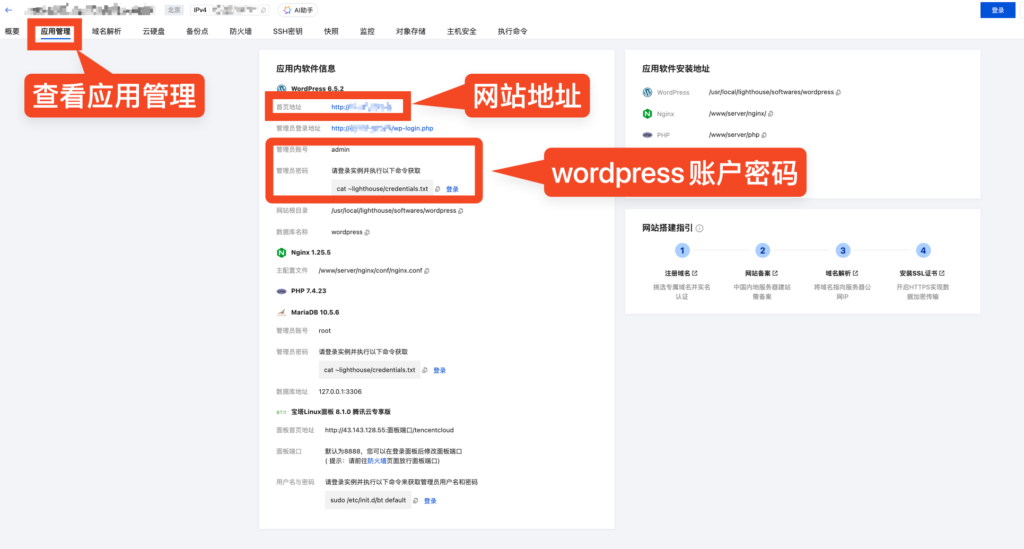
The default administrator username is admin, but the password is not displayed in plain text. You need to retrieve it separately. The following example again uses Tencent Cloud; other providers follow a similar process. Open the application management page in the cloud console and click Log In.
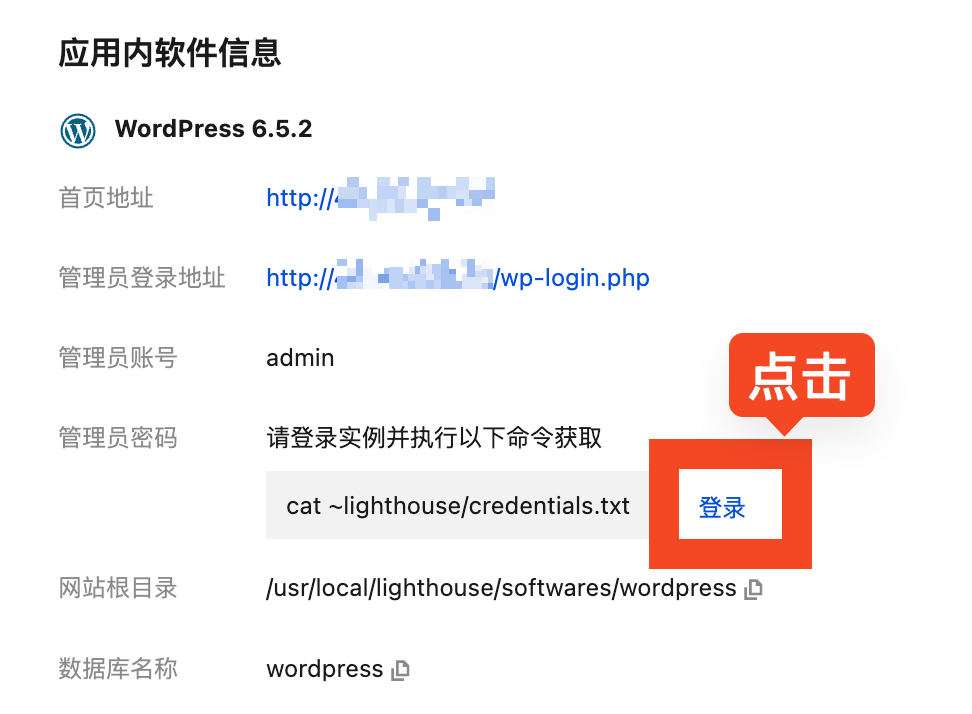
In the newly opened interface, run the command shown in the screenshot below. The method for retrieving the password may differ by provider, so follow the provider’s own instructions.
cat ~lighthouse/credentials.txt
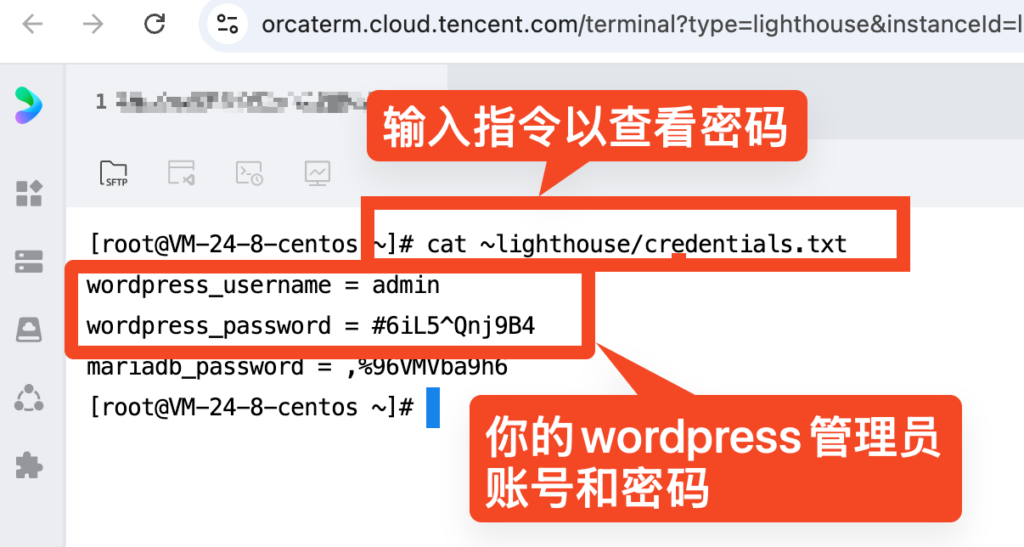
You can now open the WordPress administration interface at:
http://<server IP address>/wp-admin
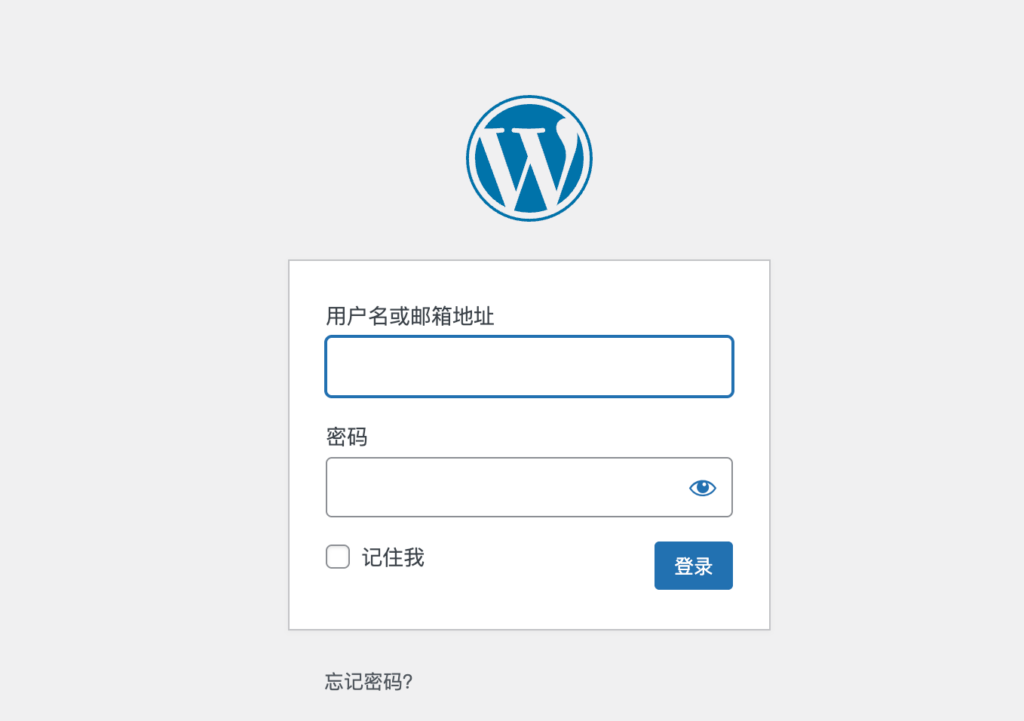
Enter the administrator username and password. From the WordPress dashboard, you can write articles, customize the site layout, and manage plugins.
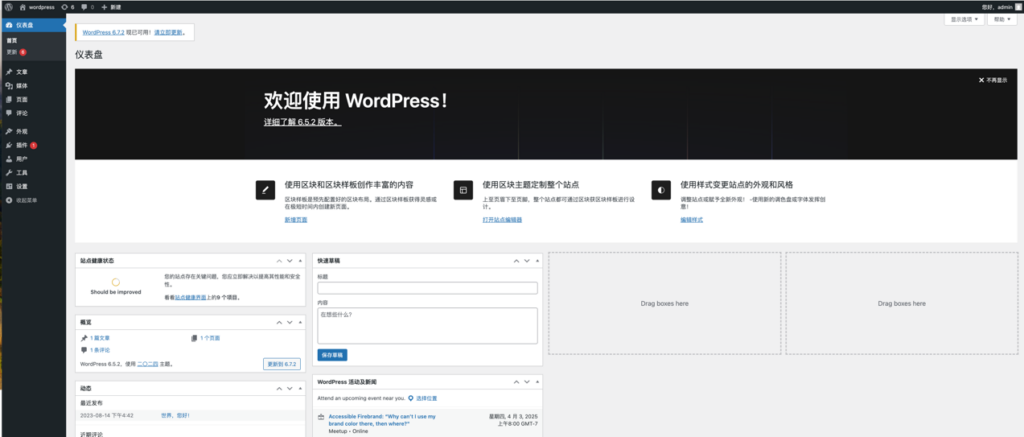
Congratulations! You have deployed WordPress and now have a WordPress website of your own.
Method 2 (DIY): Build WordPress from Scratch
This method assumes that you use a Linux server, know how to connect to it with SSH, and are familiar with basic Linux operations such as ls, cd, and creating files. If that sentence is unfamiliar, this tutorial is still too advanced for you; use Method 1 instead.
This method is slightly more complicated, but it provides greater flexibility and customization.
If you have an unused server and enjoy experimenting, you can build your own WordPress server with the following approach.
Installing Docker
This tutorial uses Docker to help deploy WordPress.
Docker is like a box that packages an application together with the environment it needs. The application can then run consistently on different machines. Docker makes it possible to:
- Deploy applications quickly and easily.
- Move applications to other platforms more easily.
- Isolate runtime environments and avoid pollution or inconsistencies between platforms.
Installation differs by operating system. You can consult Docker’s official documentation, but in the AI era the easiest way to configure an environment is often to ask AI.
You can ask DeepSeek, ChatGPT, or another AI:
“How do I install Docker on <your server operating system>?”
For example, you could ask DeepSeek, “How do I install Docker on Linux?”
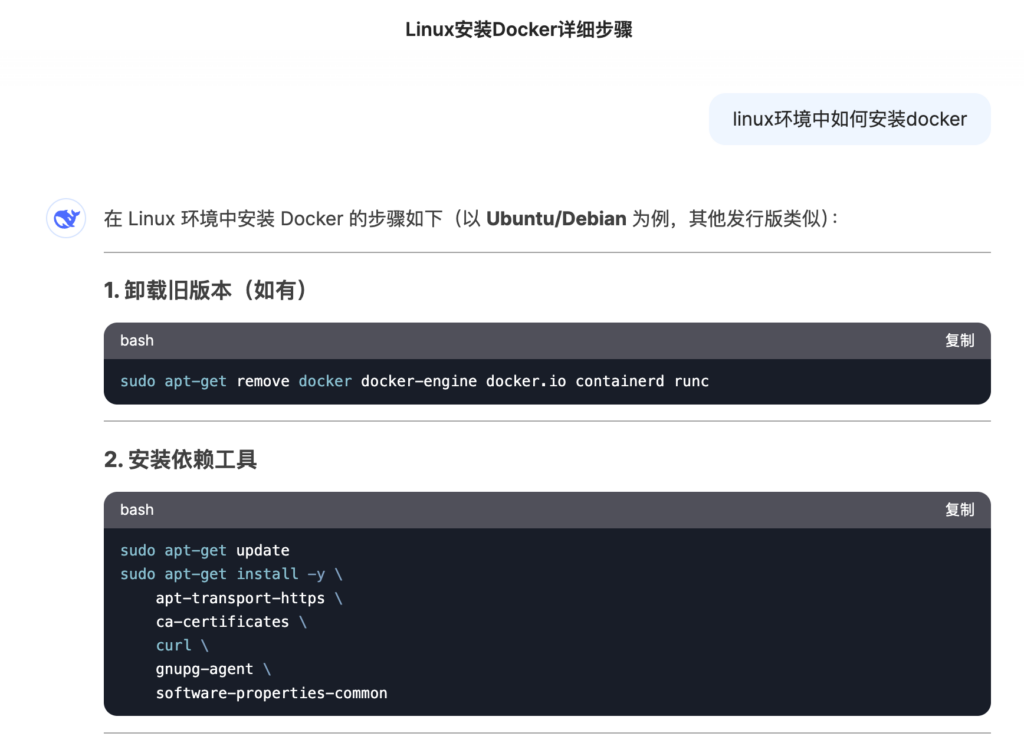
Because of formatting limitations and readability concerns, the full AI response cannot be reproduced here. Ask AI according to your server’s operating system, or read my conversation with DeepSeek:
github.com/DrMofu/MLab_wechat/blob/main/weChat195_wordpress/install_docker.md
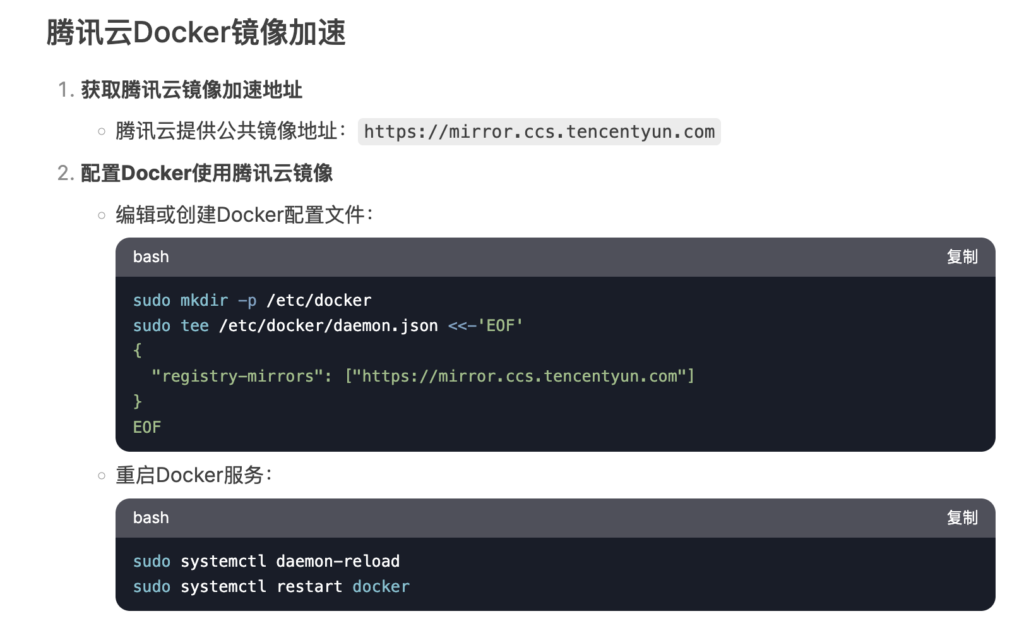
Servers in mainland China may also have difficulty accessing Docker’s official image registry. After completing the steps above, you may need to add a Chinese registry mirror manually. The process varies by platform. Ask AI or review my conversation:
http://github.com/DrMofu/MLab_wechat/blob/main/weChat195_wordpress/docker_source.md
Deploying MySQL and WordPress
Create a file named “docker-compose.yml” and add the following content:
version: '3.8'
services:
  db:
    image: mysql:latest
    restart: always
    container_name: mysql_db
    environment:
      MYSQL_DATABASE: wordpress
      MYSQL_USER: wp_user
      MYSQL_PASSWORD: <choose password A>      # Password for wp_user
      MYSQL_ROOT_PASSWORD: <choose password B> # Password for the root user
    volumes:
      - db_data:/var/lib/mysql
  wordpress:
    image: wordpress:latest
    restart: always
    container_name: wordpress_app
    ports:
      - "80:80"
    environment:
      WORDPRESS_DB_HOST: db:3306
      WORDPRESS_DB_NAME: wordpress
      WORDPRESS_DB_USER: wp_user
      WORDPRESS_DB_PASSWORD: <choose password A>  # Must match the wp_user password above
    depends_on:
      - db
volumes:
  db_data:
Replace the password placeholders above with values of your own.
Then, from the directory containing docker-compose.yml, run the following command to deploy MySQL and WordPress:
docker compose up -d
After the command succeeds, the MySQL database and WordPress website are deployed. Visit your server’s public IP address to view the site.
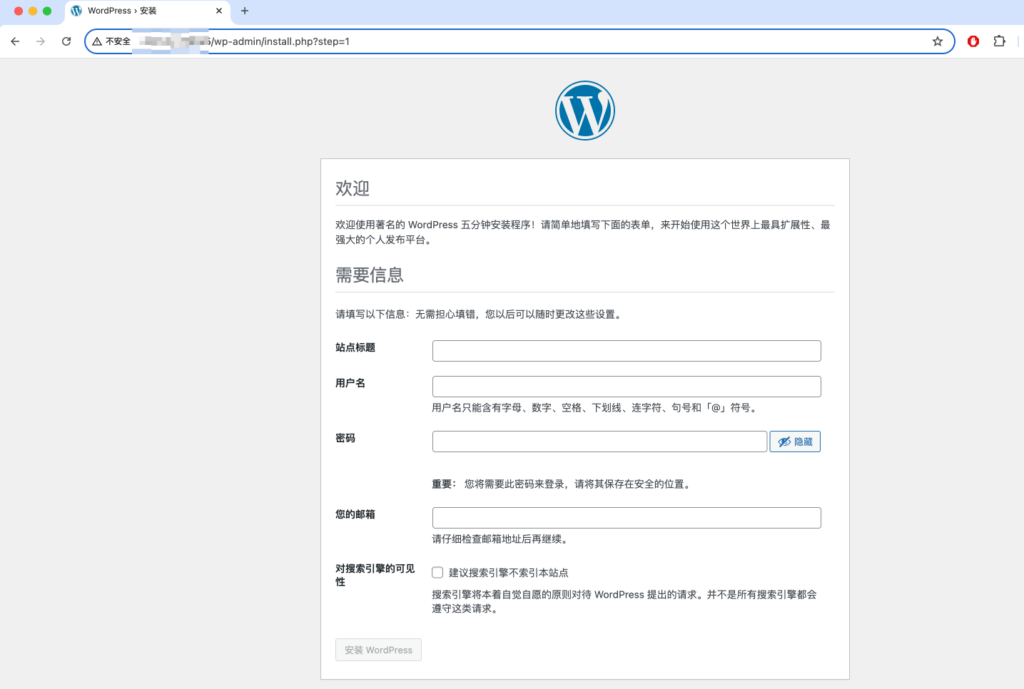
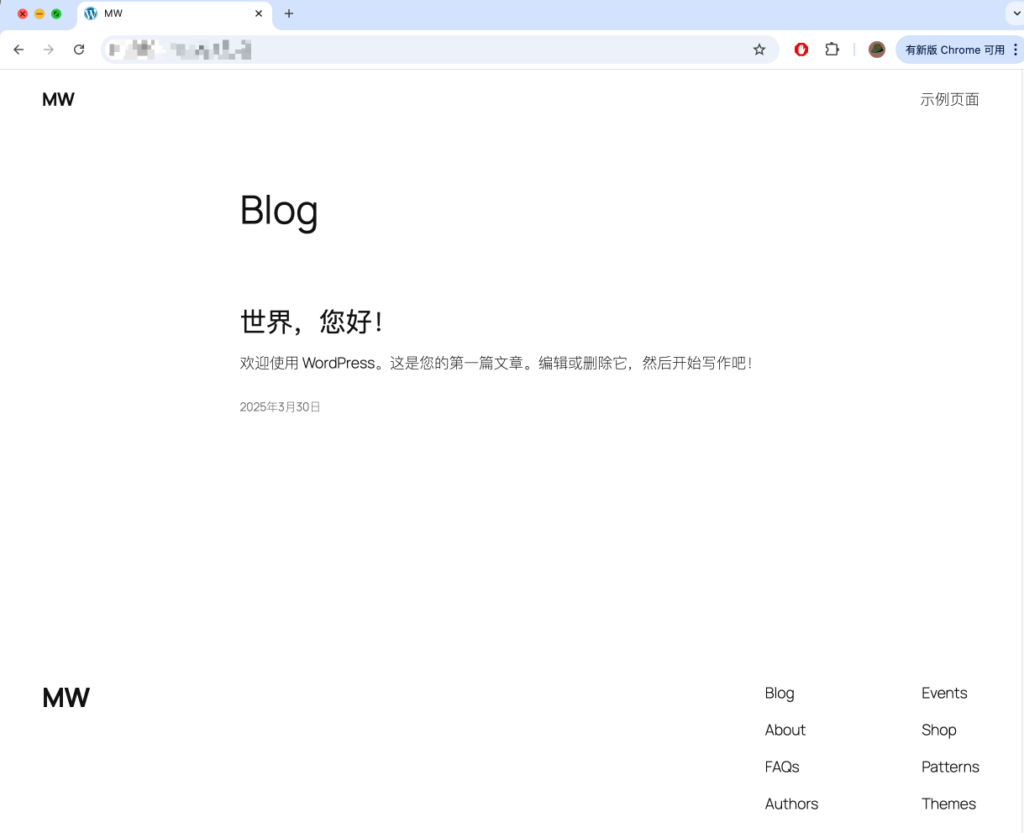
Follow the prompts to create a WordPress administrator account. Your WordPress website is now initialized, and anyone visiting the server’s IP address will see it.
Additional Improvements
After deploying your WordPress server, you can consider the following improvements. They provide directions for readers who want to customize their sites further. We are living through a period of rapid AI development, so whenever you encounter something you do not understand—such as how to package Docker data—you can ask AI for a customized answer.
Purchasing and Configuring a Domain Name
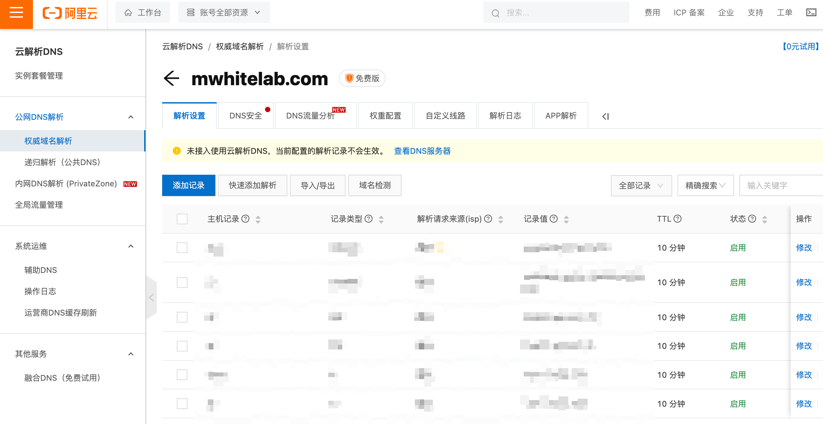
Accessing a server directly by IP address is inconvenient. You can purchase a domain name, such as mwhitelab.com, and point it to the IP address of your WordPress server. Visitors can then reach the site through the domain. Buy a domain from a registrar such as Tencent Cloud or Alibaba Cloud and configure its DNS records. A domain usually costs a few dozen yuan per year, while “.com” domains are somewhat more expensive. Note: purchasing a domain through a Chinese registrar requires identity verification.
ICP Filing
If you want to access the website through a domain name and your server is located in mainland China, you must apply for an ICP filing for the domain. Approval generally takes one to two weeks. Users will be able to access the server through the domain only after the filing is approved. Refer to your cloud provider’s filing guide for specific requirements.
Data Backup and Migration
Back up your server regularly in case something goes wrong.
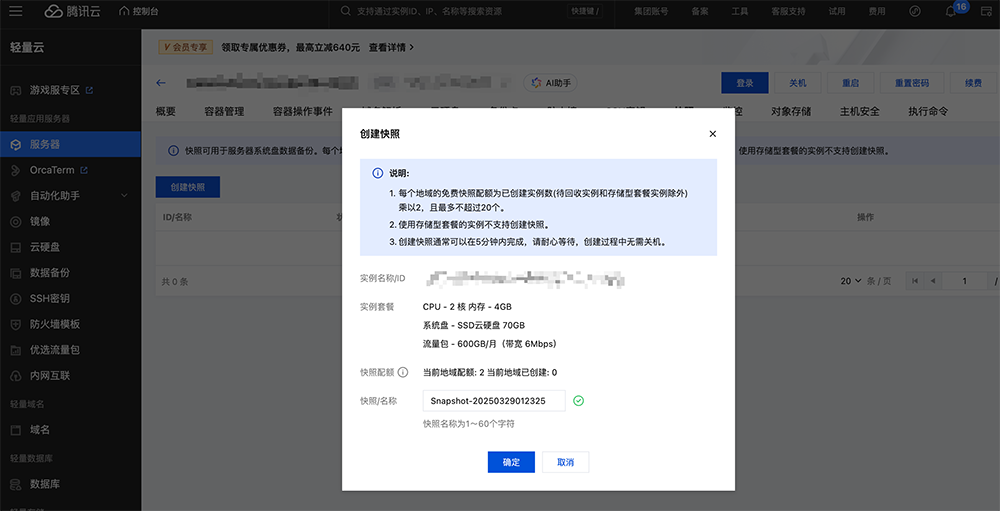
1. Snapshot backups: platforms such as Alibaba Cloud and Tencent Cloud provide server snapshots that can quickly preserve your server data.
2. Docker data export: because the deployment uses Docker, you can package the MySQL and WordPress data running in Docker and download it to your local computer.
3. Plugins: you can also use the WordPress plugin All-in-One WP Migration to export and import WordPress data.
SSL Certificate and HTTPS Access
Installing an SSL certificate allows visitors to access your site over HTTPS. This protects data in transit and can improve search-engine rankings. Let’s Encrypt provides free SSL certificates, and Cloudflare, discussed below, can also provide HTTPS access at no cost.
Cloudflare Protection
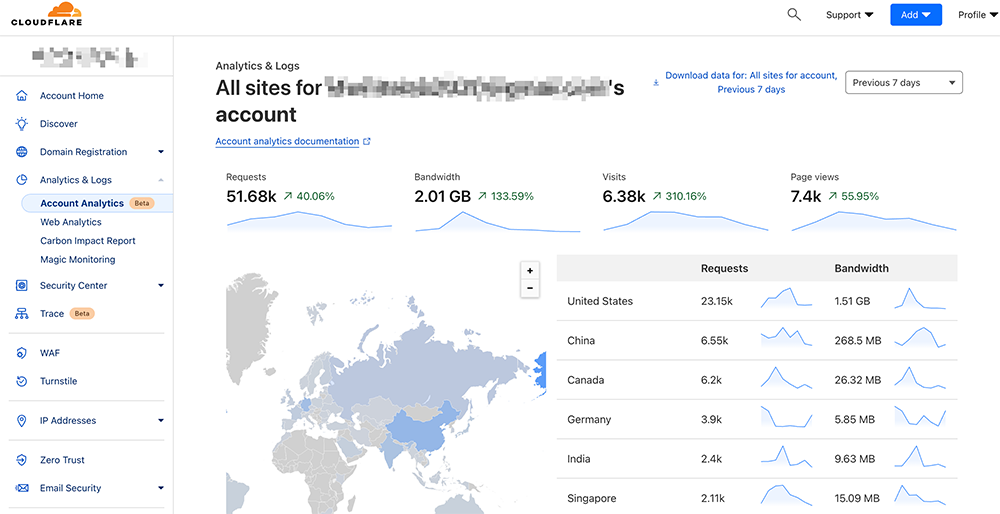
Cloudflare is a cloud-security platform that can provide services such as a CDN and DDoS protection for free. You must own a domain name to use these services.
Search Engine Optimization
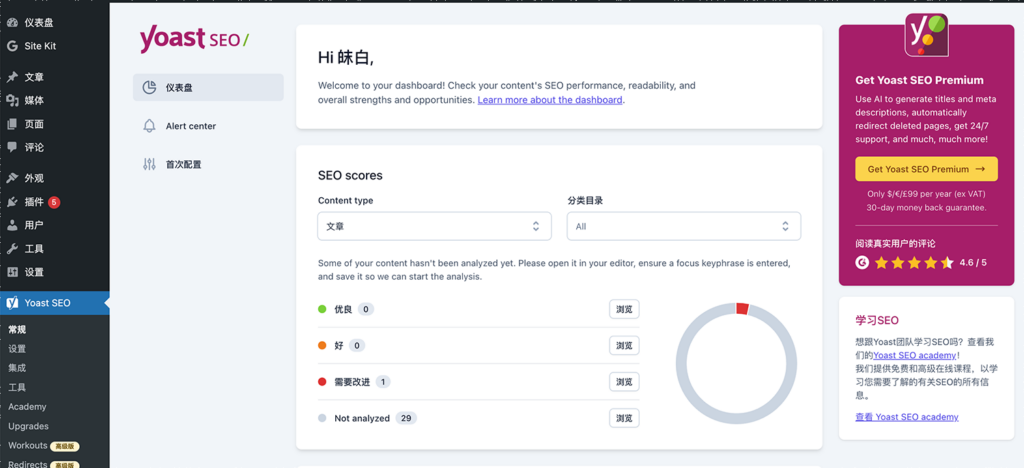
To help more people find your website, install a WordPress SEO plugin such as Yoast SEO. You can optimize page structure, keywords, and metadata, making the website easier for search engines such as Baidu and Google to index and improving its traffic and visibility.
Website Analytics
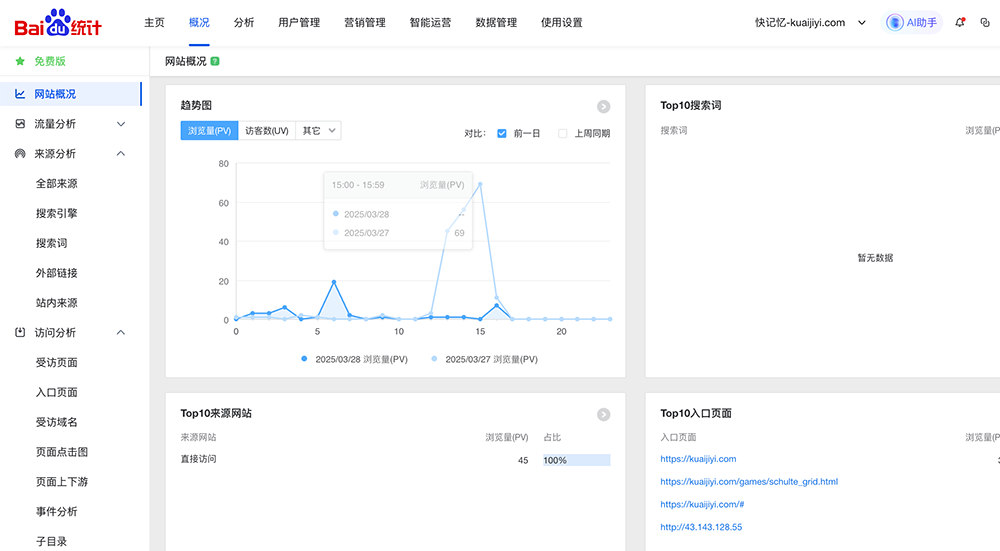
Install an analytics tool such as Google Analytics or Baidu Analytics to understand visitor sources, page views, and session duration. This information can help you improve the site’s content and reading experience.
Good luck building your website!